Heard a HomePod the other day for the first time. It was in a Best Buy, so maybe that’s what it was, but was kind of expecting to be blown away and… just thought it sounded like a small speaker.
Heard a HomePod the other day for the first time. It was in a Best Buy, so maybe that’s what it was, but was kind of expecting to be blown away and… just thought it sounded like a small speaker.
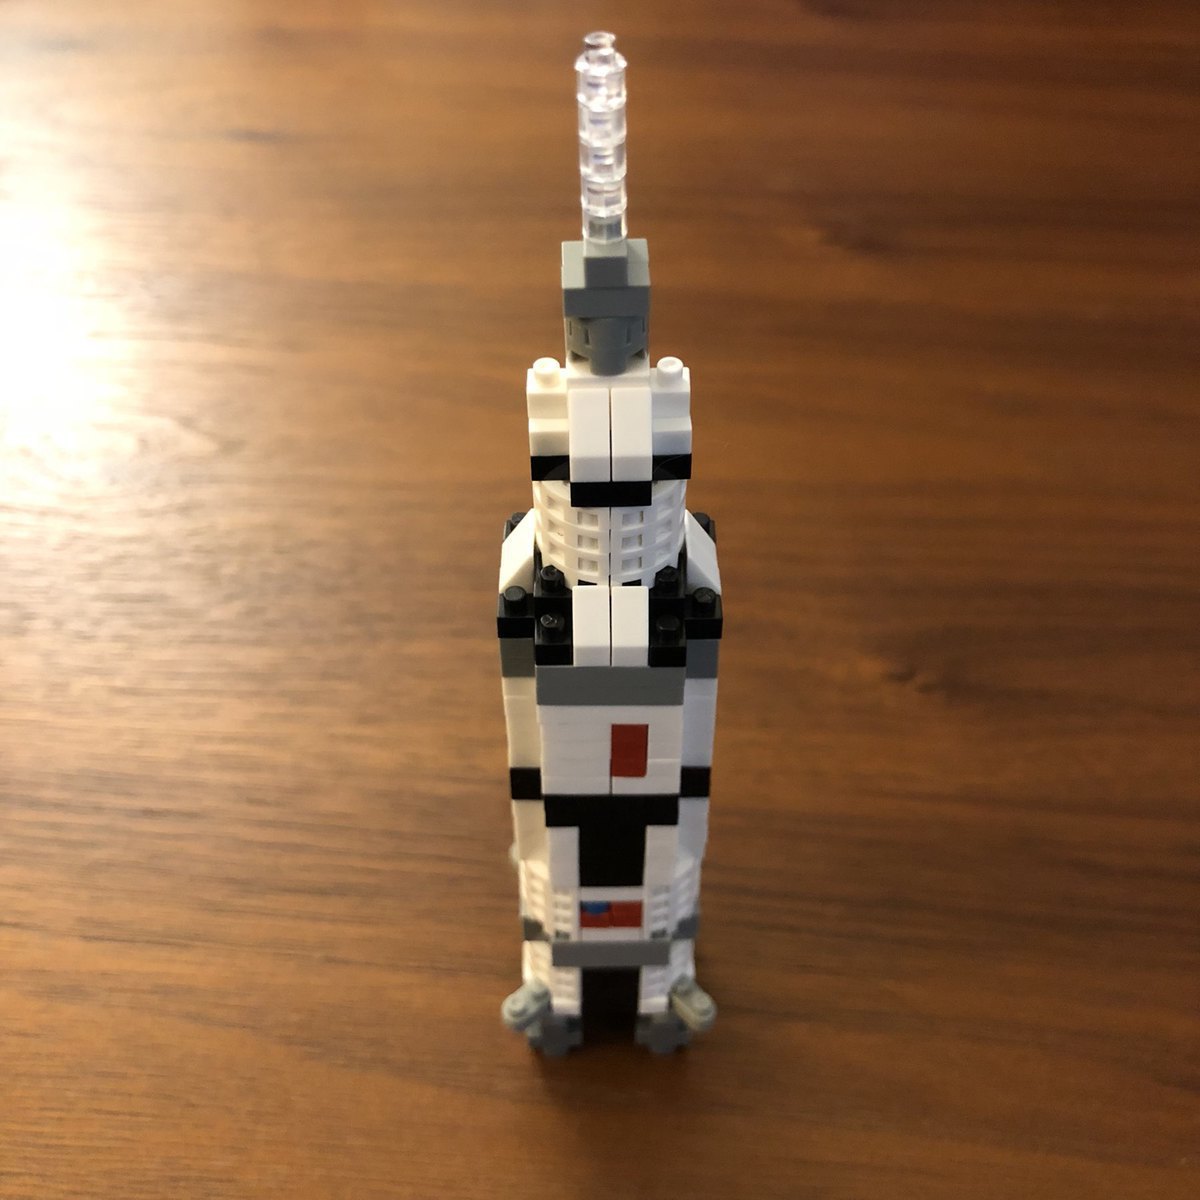
Just finished the Nanoblocks Saturn V. Slightly smaller than the LEGO one.
I sincerely wish I got better results from DuckDuckGo, but it’s not even remotely close to Google.
Facebook is now deactivated. The only thing keeping me there was that I didn’t want to create a new Spotify account, but that’s not really a big deal.
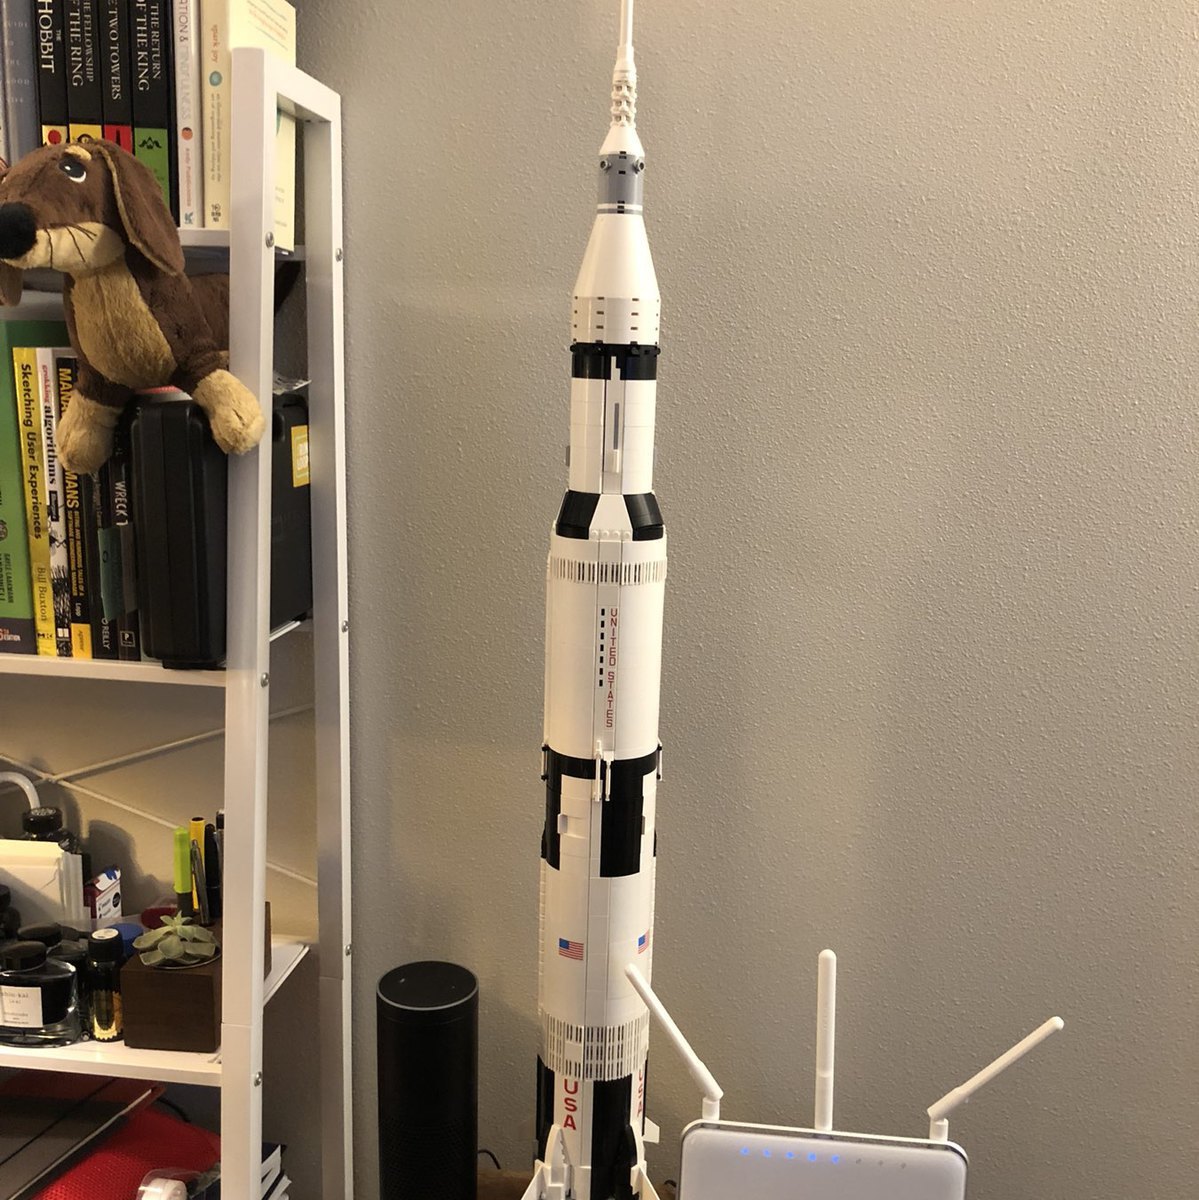
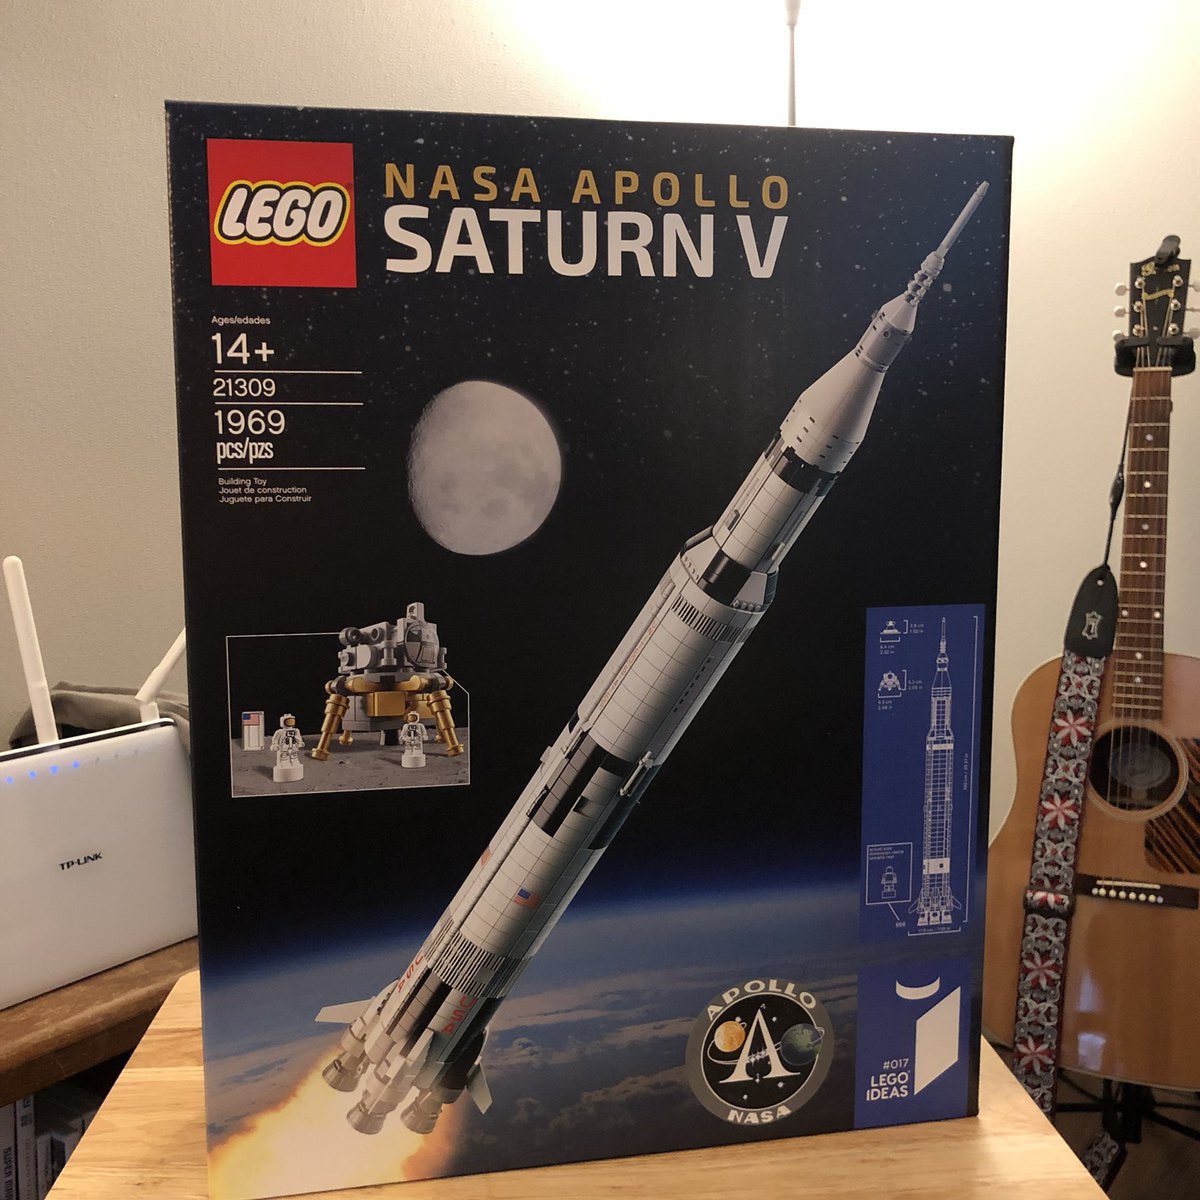
Finished the LEGO Saturn V. Took a long time but was fun. Thinking of getting a little bookcase for space LEGO/Nanoblock builds.

Trying out using my Hobonichi Techo for my everything/bullet journal. I was missing too many days and I like the size and paper, so why not?
After this week, C++ is starting not to look as crazy as it used to. I’m also beginning to think there might be as much C++ in Swift as there is Objective-C (or more).
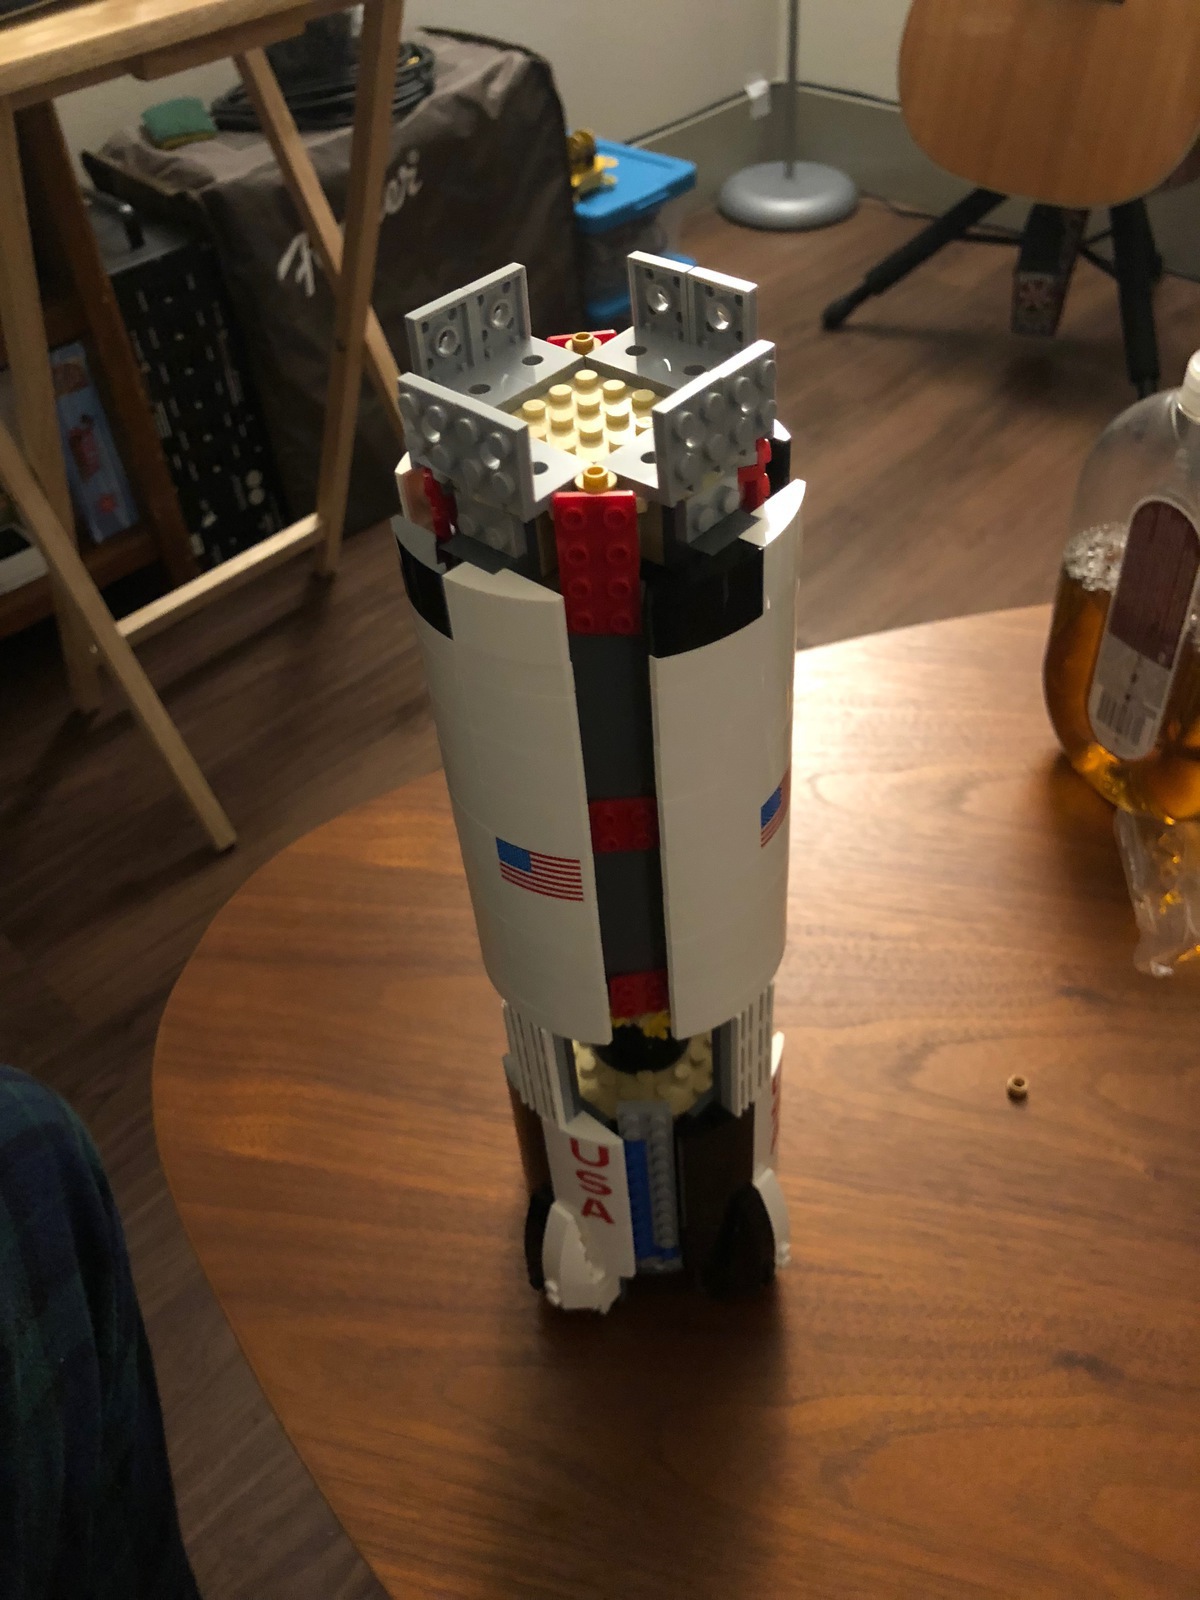
The Saturn V LEGO set I’m constructing is halfway complete. For never having built any LEGO before (even as a kid) I feel like I’m doing pretty well. Apparently, this is one of the harder sets, and I haven’t felt more than mildly frustrated at any point, and then only once.
Ever since I heard of the idea of gender quotas in politics, I’ve thought we should implement this in the United States. Maybe make it about 95% women. Men are too emotionally volatile for this kind of work.
I think I may have bit off more than I can chew.
Does anyone have the Beats Studio 3’s and have an opinion on them? I want some wireless noise cancelling headphones for work, can get them for $250 on Amazon, and feel like if I don’t get something with a W1 chip I’ll just fallback to my AirPods.
I would bet that in a world where the only other version control system I’d ever used was Subversion, I’d probably think Perforce was quite cool. Unfortunately, I have used Git, so that is not the case.
I feel like I am reliving something @marcoarment went through several years ago as I hop between several text editors trying to. BBEdit, Sublime Text, Atom, VS Code. Trying AppCode at the same time as well, although that’s a separate issue.
Bought the yearly membership for Grammarly, and I like it quite a bit. Unfortunately, it doesn’t work on Micro.blog for some reason 😔
As simple of a tool as it is compared to the competitors, YNAB (You Need a Budget) is insanely effective if you use it. My spending/savings situation has changed dramatically in the last couple of months.
I bought a Waterpik and I have to say… it’s pretty rad. I always thought they were more expensive but the big fancy crazy one is only about $60.
What I really want is a version of Automator where you can create a little form in it and use values you get from it to populate variables. Too bad they’ll never update it again.
If this was 2009 I’d totally be starting a Mac automation podcast right now.
Editing and posting the new episode of The Run Loop tonight! Moving to a bi-weekly schedule after this.
Weirdly I think that being able to write AppleScript (combined with shell scripts) and use Automator has been one of my secret weapons in my career.
Looking for a guest for the next episode of The Run Loop after the one coming out end of this week. Hit me up.
Giving using a Pomodoro timer a shot again to help increase focus. It’s helped in the past, but I’ve just never really stuck with it. I should really see if there’s a good book on the method.
Managed to get Outlook working again! I actually think it was an issue with our SSO provider and not so much Outlook itself.
This is a lovely situation to be in: Outlook for Mac prompts me to log in, and then freezes and crashes everytime I try to. Amazing.
Oh man. Rough day.